Project Babble - HP Reverb G2 Omnicept Setup Guide
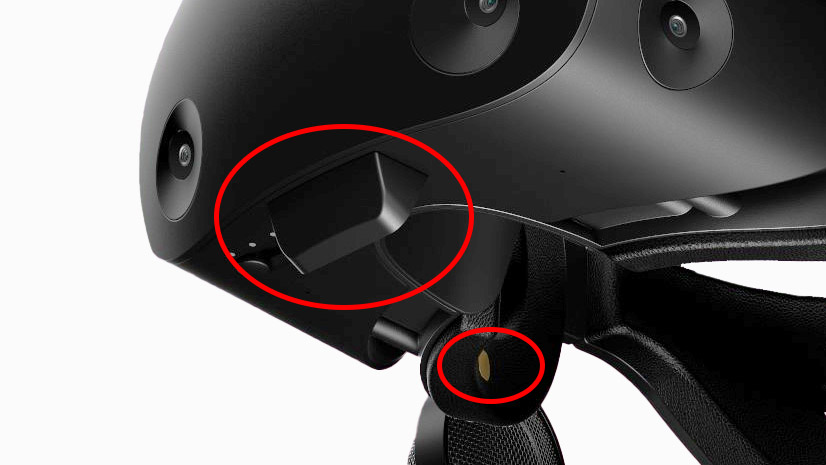
The HP Reverb G2 Omnicept Edition is a VR headset with eye tracking and a lower face camera. While there is a module that allows you to use the headset's eye tracking with VRCFaceTracking, the face camera by itself does not do anything.
But! With Project Babble this camera can be used to track your facial expressions! This guide will show you how to use the lower face camera with VRCFaceTracking.
Setup
You will need the following software installed to use the lower face camera with VRCFaceTracking:
- The VRCFaceTracking Babble Module
- OBS v27.2.4
- OBS VirtualCam v2.0.5
- Project Babble
- The Glia Runtime/SDK
- The Glia Lip Viewer
Make sure you use the exact version of OBS and the plugin listed!
Installation
Step 1: Glia Lip Viewer Setup
Firstly, extract the contents of the GliaLipViewer.zip file to a folder of your choice. You can delete the zip file after this is done.
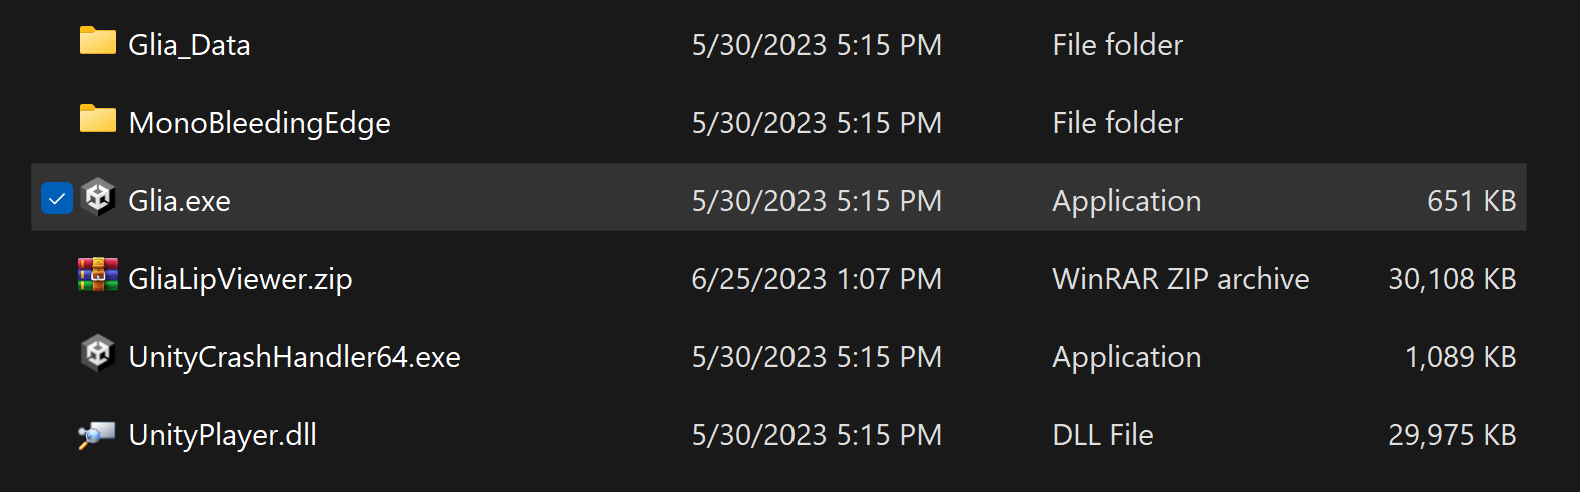
Next, run Glia.exe inside of this new folder. If your HP Reverb G2 Omnicept Edition is plugged in, you should see a small window with a live feed from the lower face camera, tinted red. Otherwise, you'll see a solid red box. If this is the case make sure your headset is plugged in and that you have the Glia Runtime installed.
You may get a warning from the Glia Runtime about an application requesting access to the lower face camera. If you do, make sure to click "Allow".
Step 2: OBS Setup
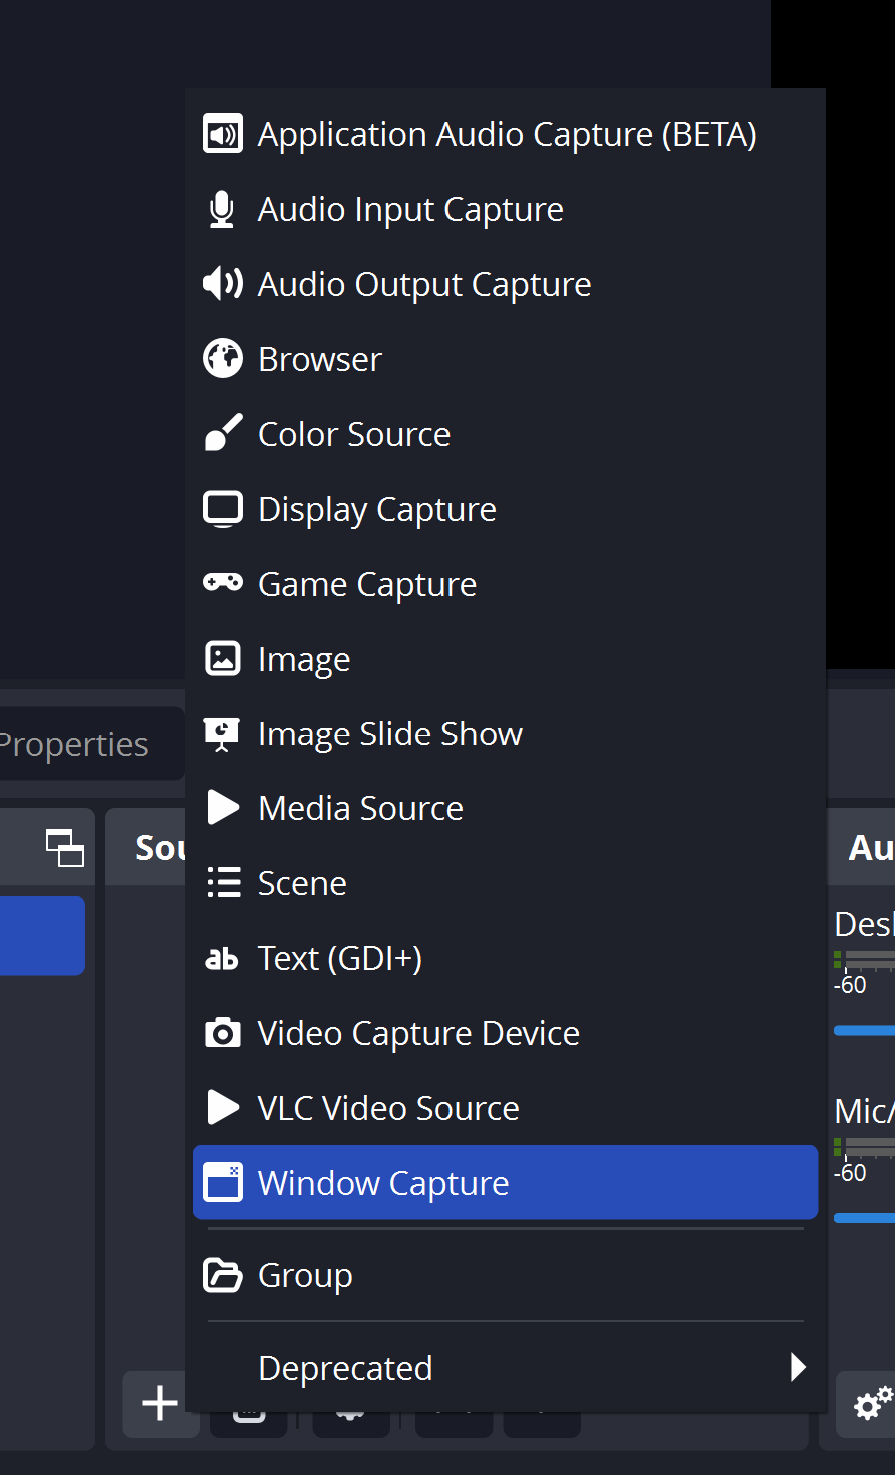
Install OBS v27.2.4 as well as the OBS Virtual Camera Plugin. If you have a newer version, you should not have to uninstall it. Open OBS and add a new "Window Capture".
Select the Glia window from the list of windows...
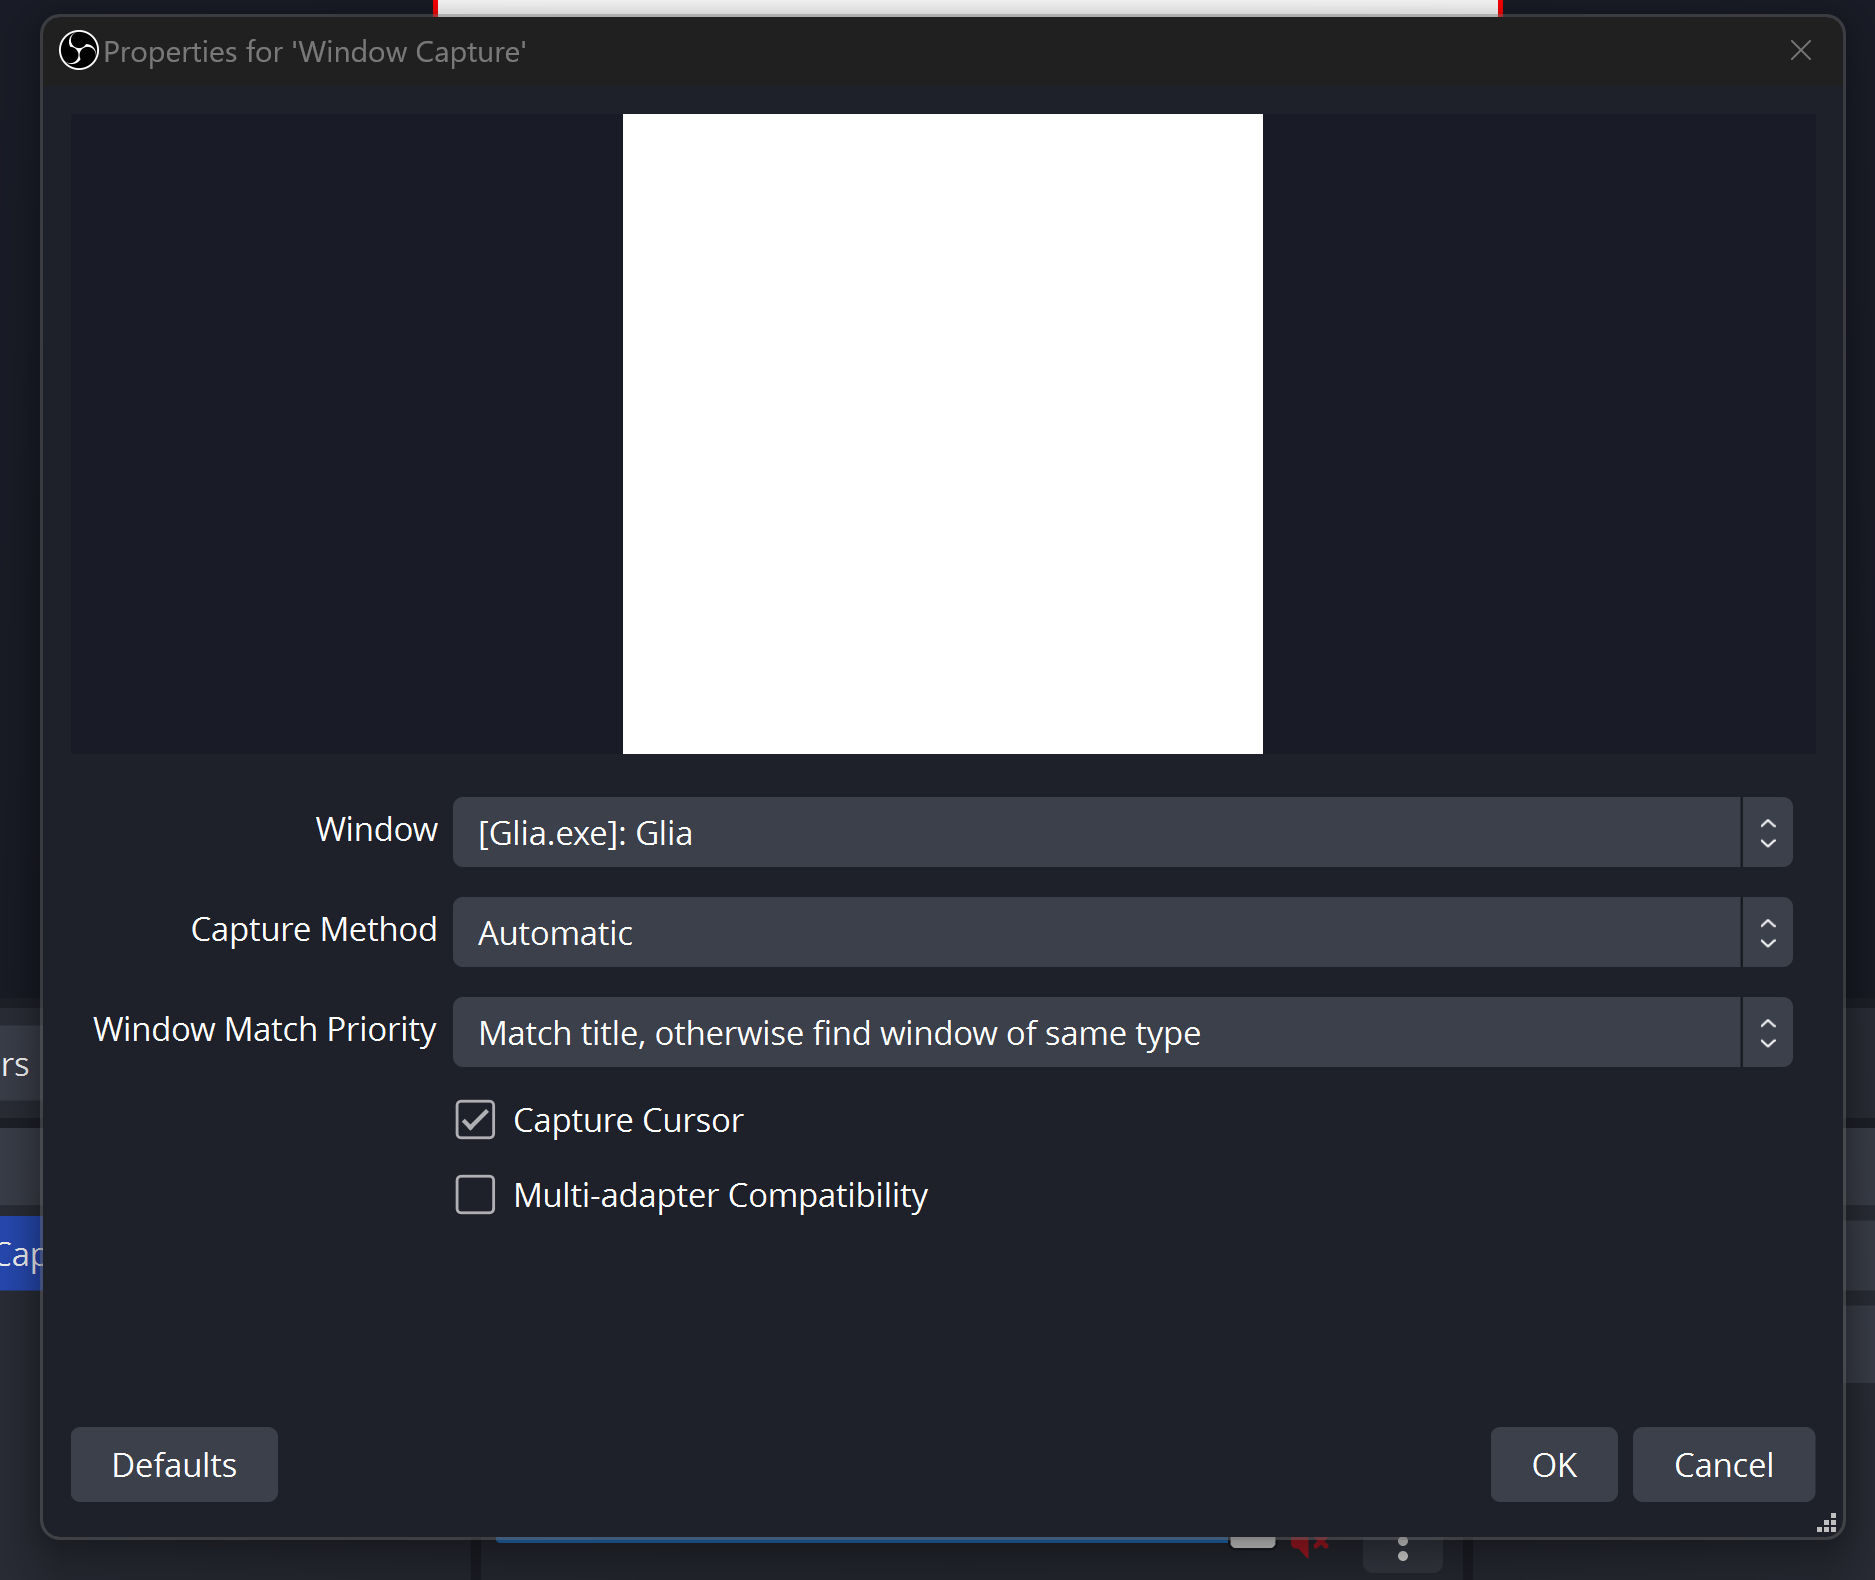
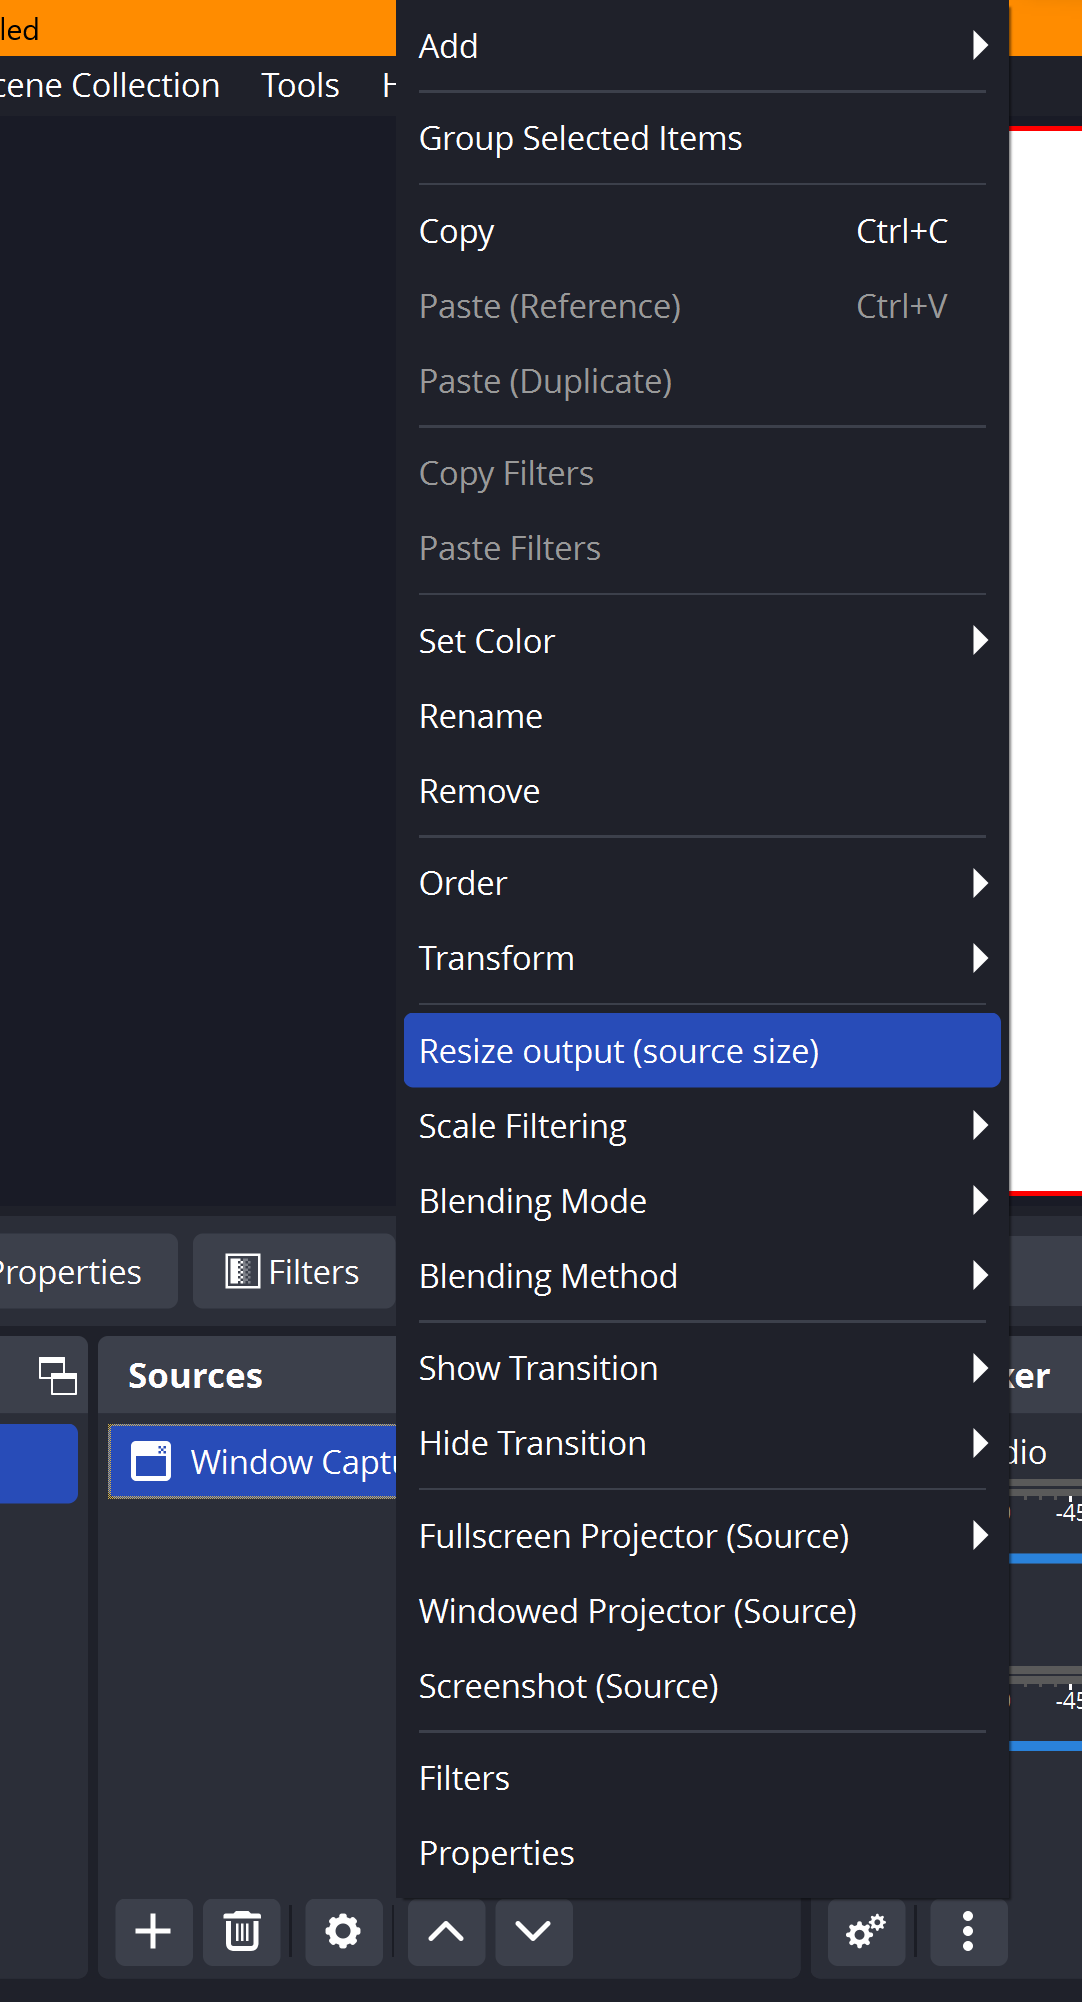
Disable cursor capture. Now resize OBS to fit the size of the window. This can be done by right clicking on the "Window Capture" source and selecting ""Resize output (source size)".
You may need to change the capture method from "Default" to "Windows XXXX".
Finally, under OBS's Tools in the top menu bar select the VirtualCam option and click start. Project Babble should detect this as an input device if 1 is entered as input to it!
In its present state, you will need to launch the GliaLipViewer and OBS's virtual camera every time you want to use this with Project Babble/VRCFaceTracking.
(Optional) Step 3: Fine tuning
This section is intended to fine tune and calibrate project babble, but isn't a necessary step to get it to function
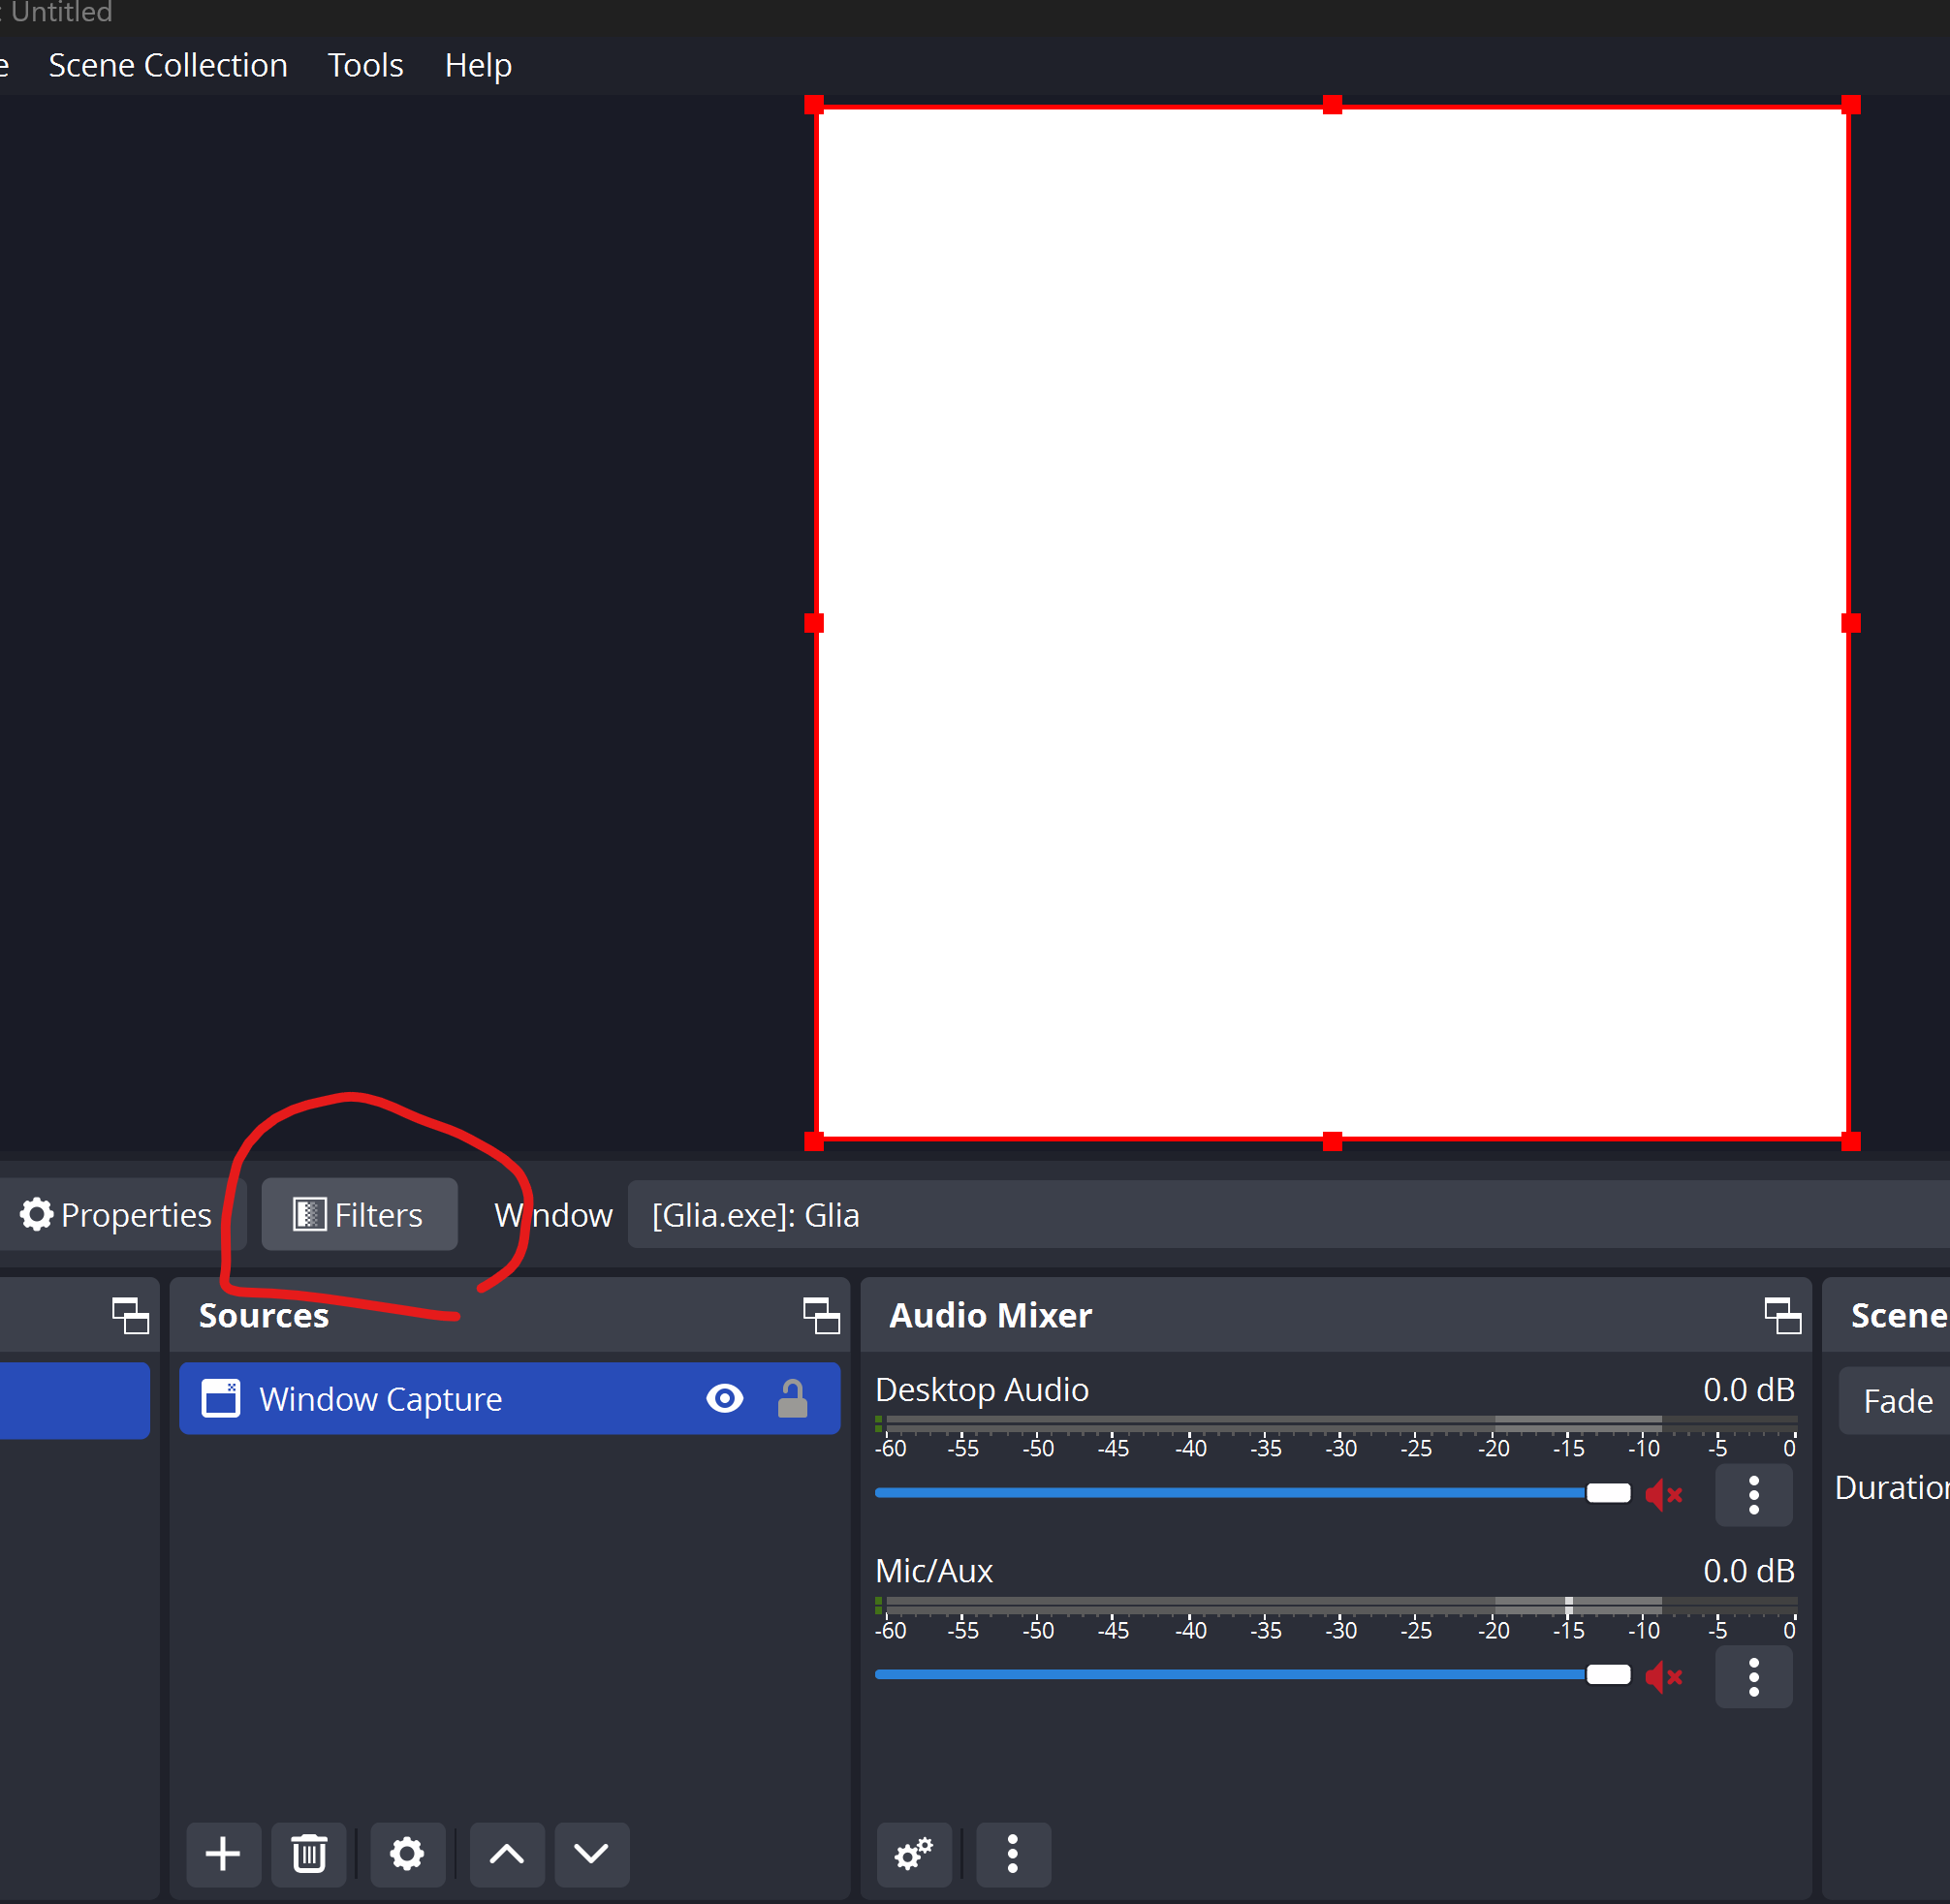
Open the filters tab for the window capture you created...
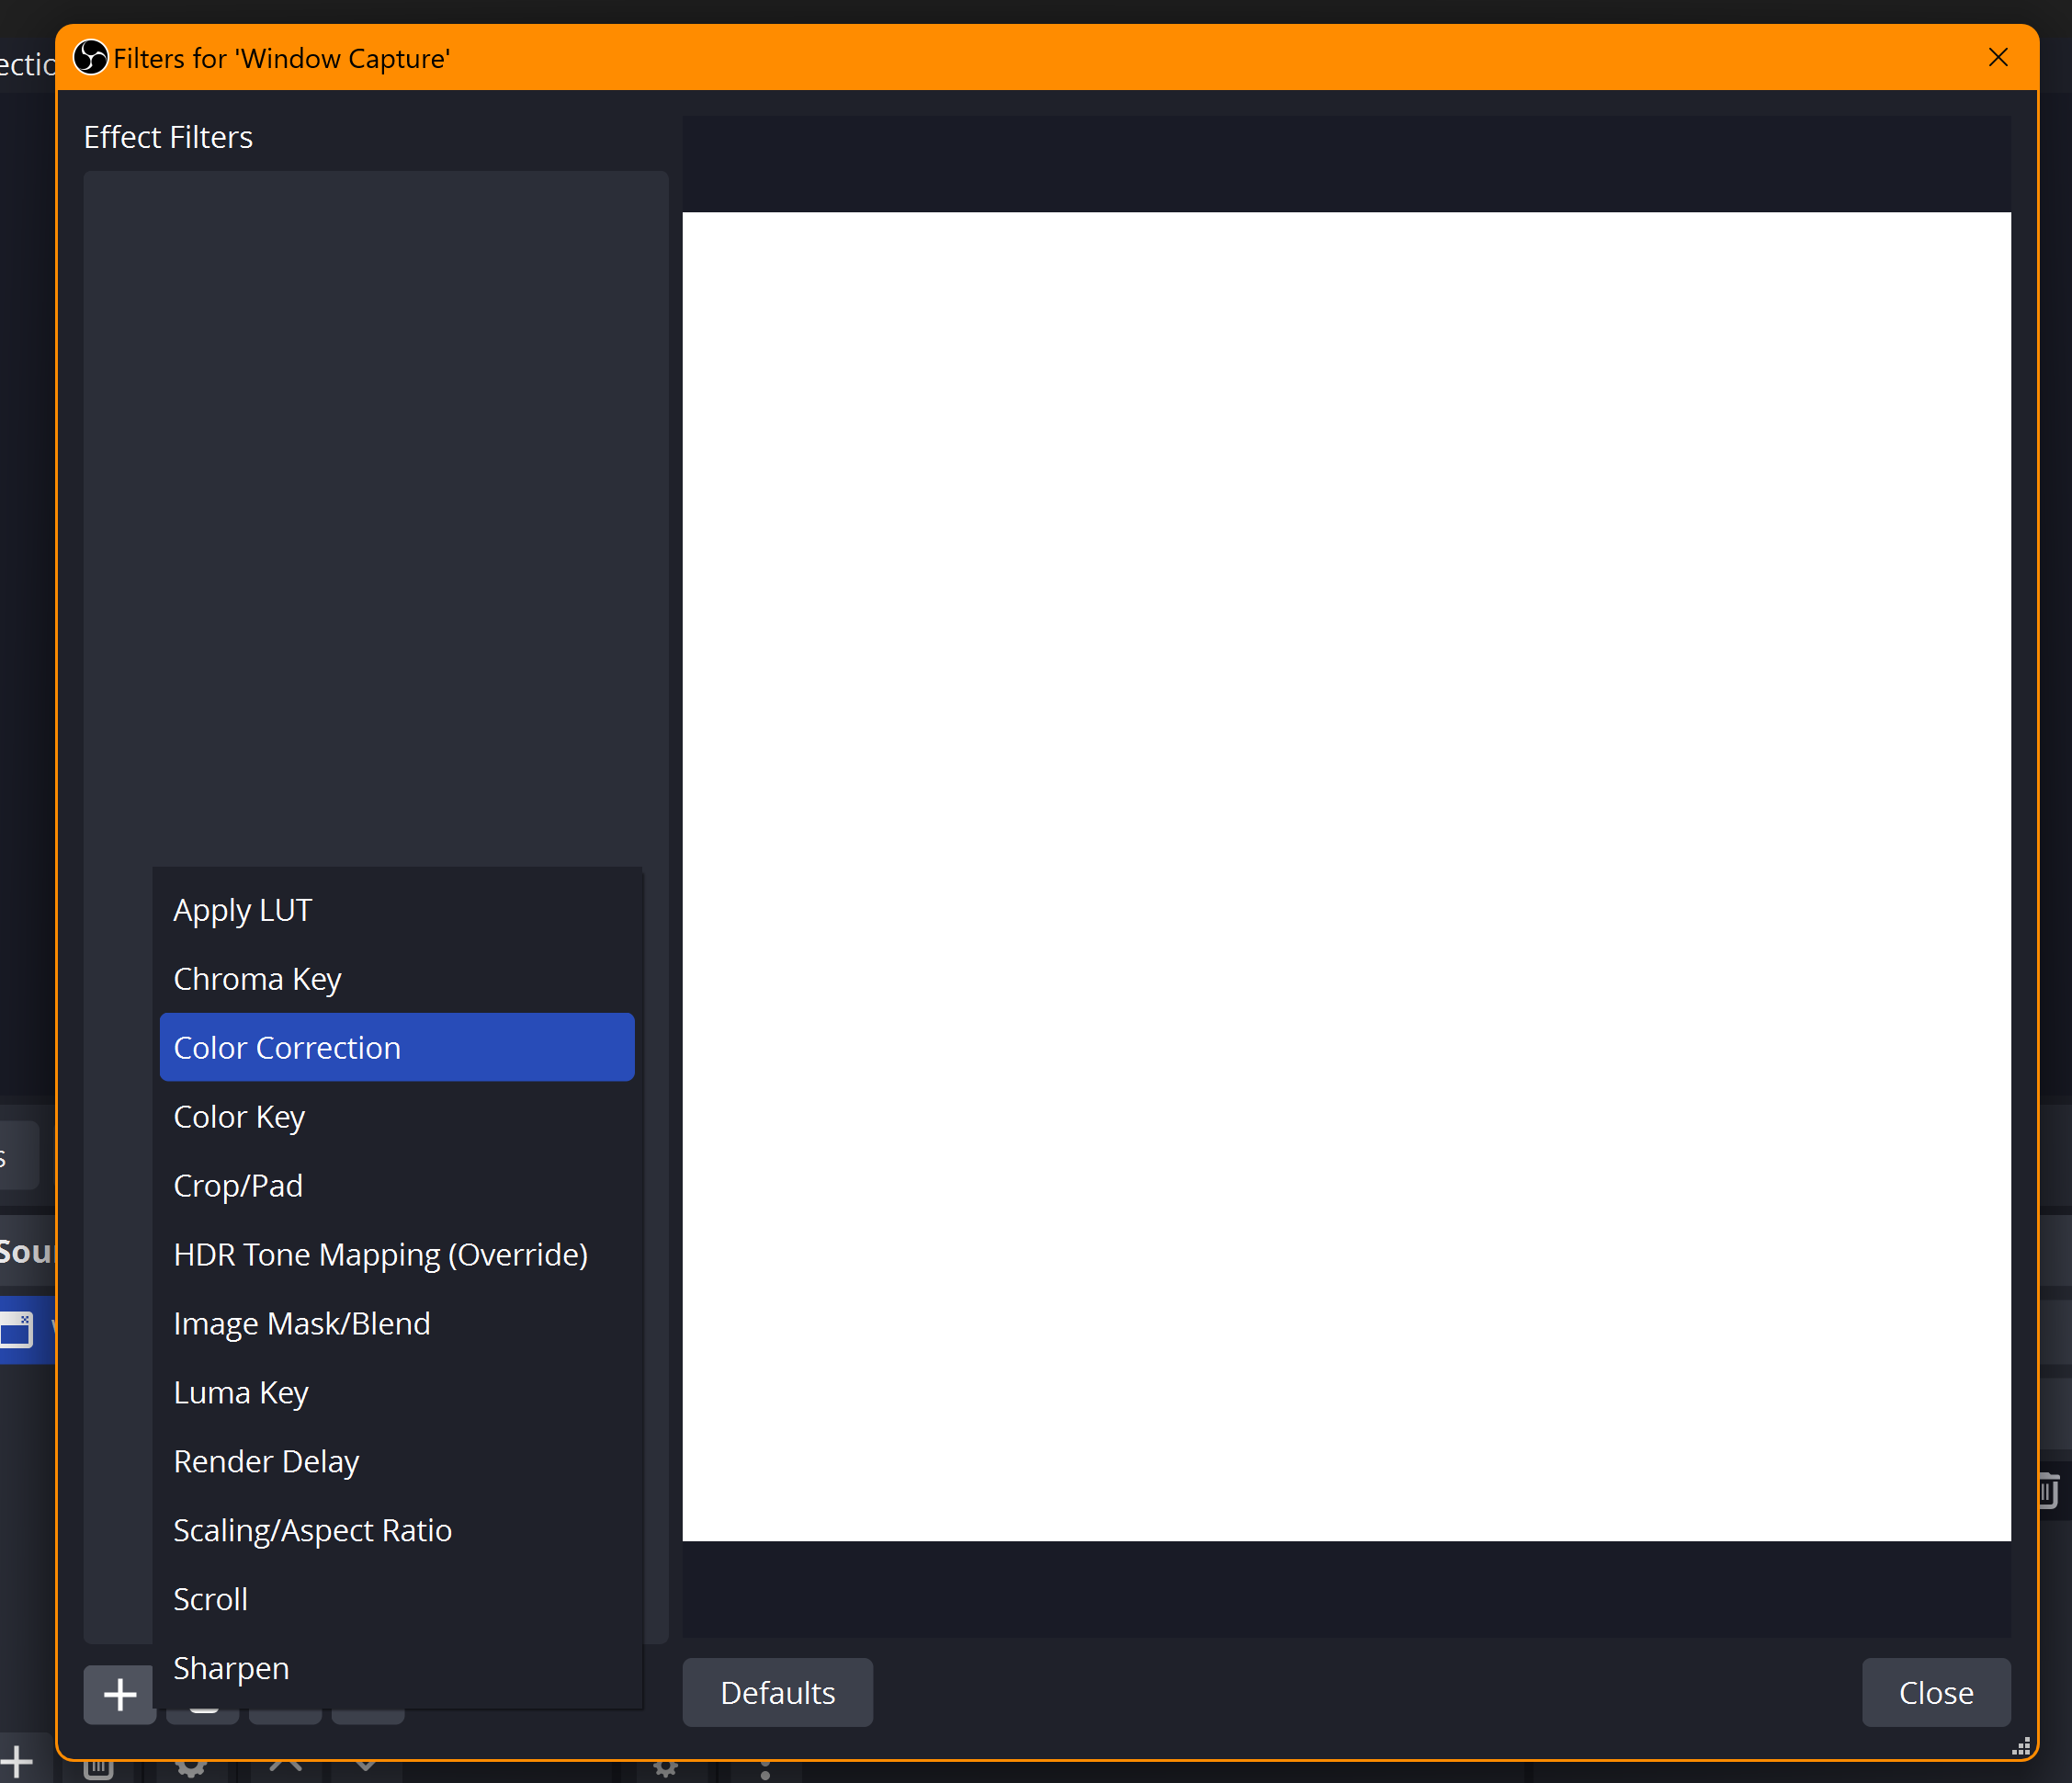
Add a "Color Correction" filter.
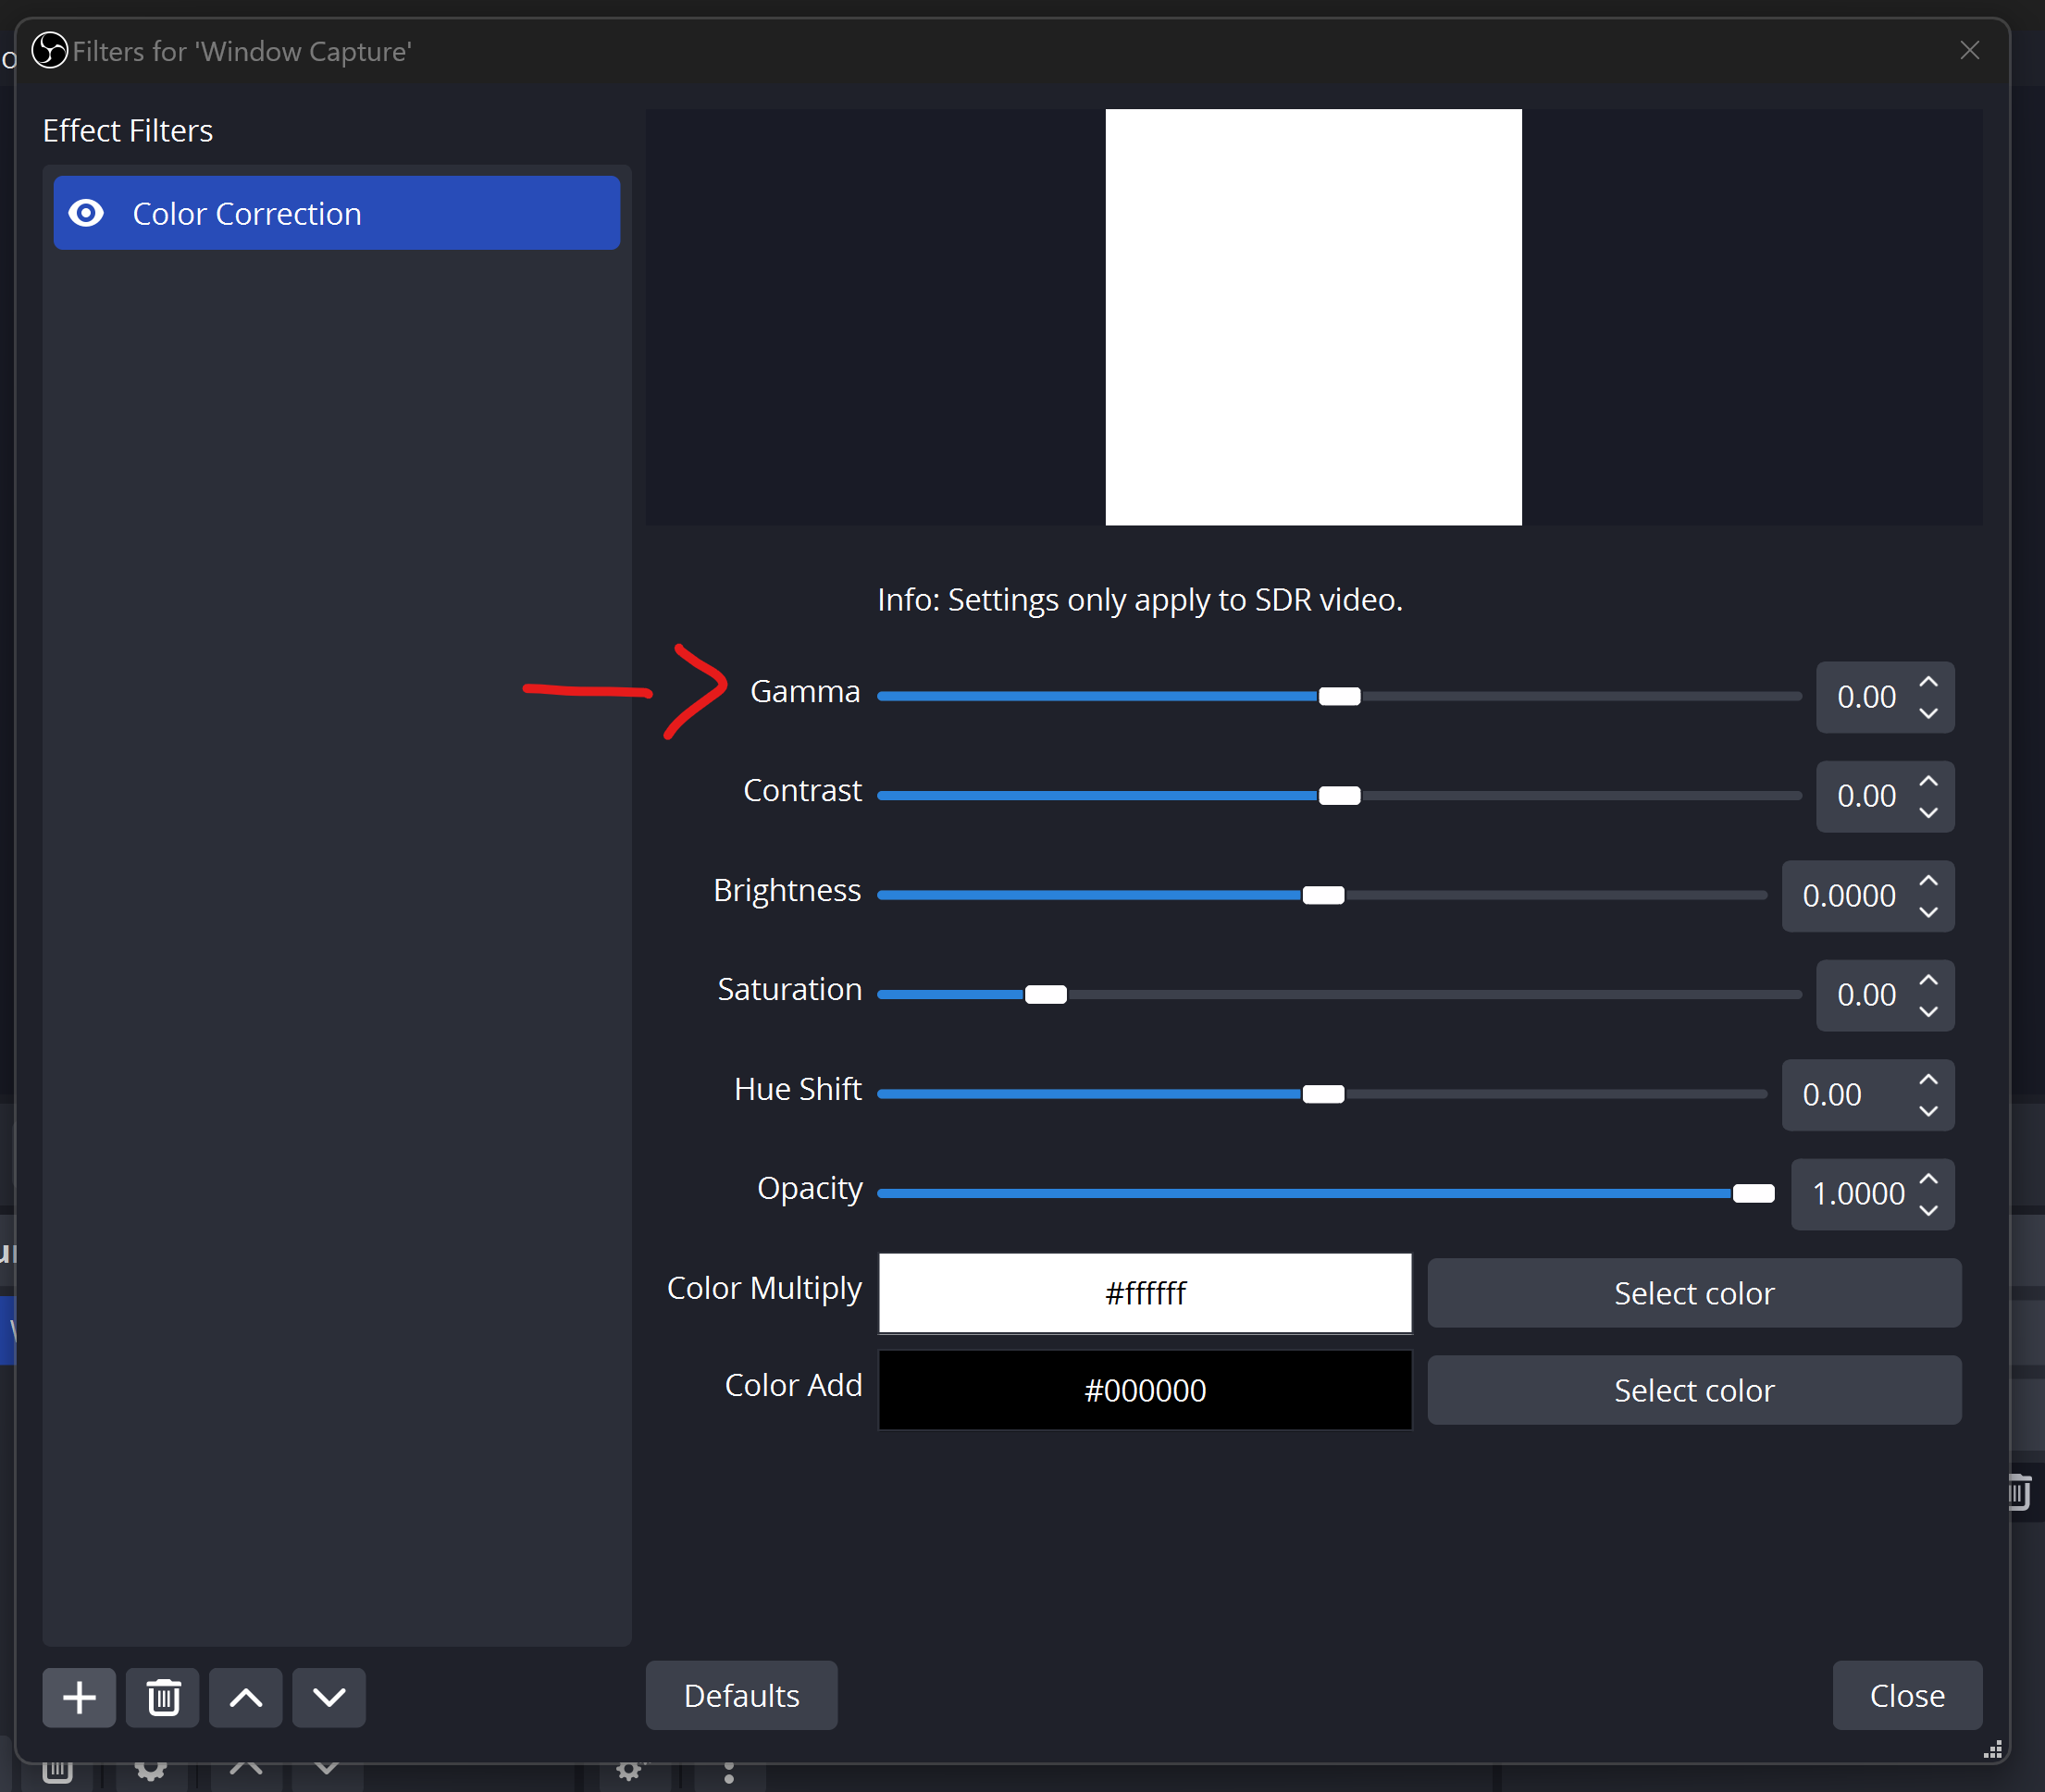
Increase the brightness of the video by adjusting "Gamma", you want to make this about ~3 times as bright as it is by default. You can also adjust the contrast and saturation to your liking.
You should now be able to see your lower facial expressions reflected in VRCFaceTracking! Have fun!
HP Reverb G2 Omnicept Face Camera pictures from Road to VR, by Aggiornamenti Lumia